Select a target destination for the backup image, specify names for both the backup image file and the backup task.
Add a brief description in the [Comments] textbox.
Destination Screen and Configuration Options
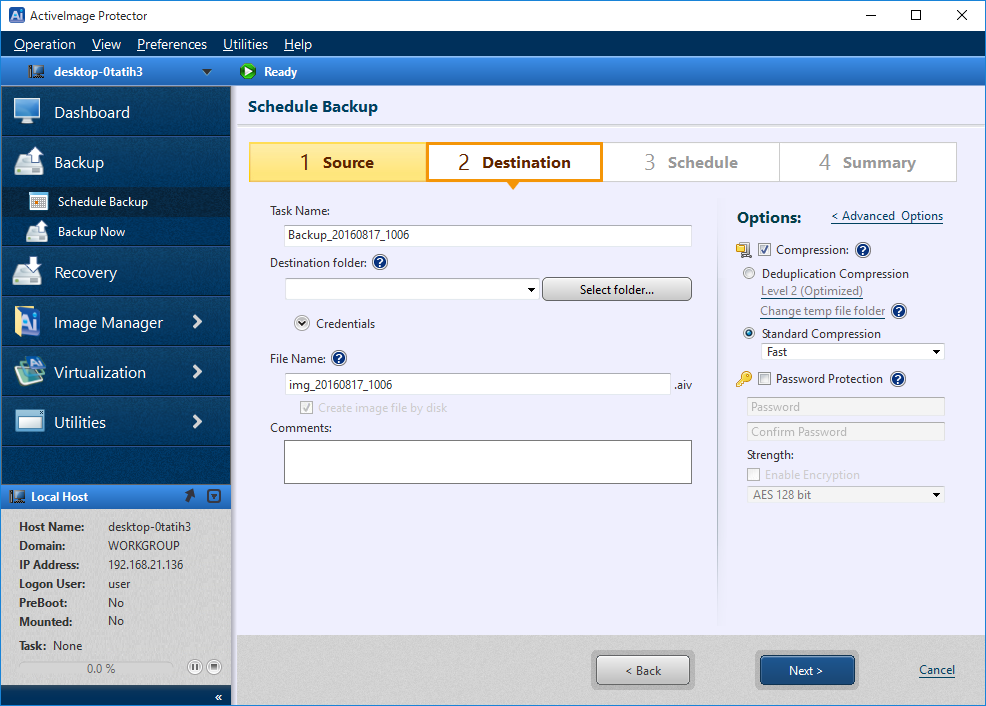
Select Destination
-
Task Name: Specify the name for the backup task.
-
Destination Folder: Specify the destination folder for the backup image by entering the path and folder name or use the
 .to browse to the backup destination folder.
* Before creating a schedule by specifying a USB device for the destination, please refer here. -
File Name: The default file naming convention is applied to include the current date. Edit the file name as needed.
-
Comments: Use the textbox to enter a brief description of the backup.
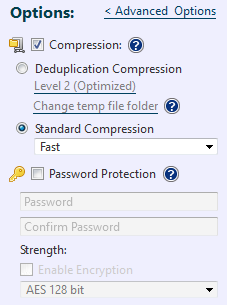
Backup Options
The backup options include features to improve compression, set password protection, and to designate a level of encryption for the backup image file. Select a post-backup operation (shutdown or reboot) should a software or hardware maintenance be required.
Backup Options and Advanced Backup Options.
-
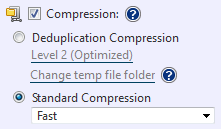
Compression: Enabling compression reduces storage requirements by further compacting the backup image file. Begin by checking the [Compression] box, then selecting the desired type of compression.
-
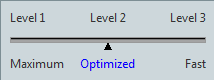
Deduplication Compression: Select one of the three levels of deduplication available.
[Level 1] - Deduplication is performed at the highest level. This level of compression may increase the overall backup processing time but achieves the most tightly compressed image file.
[Level 2] - This preset level provides the best balance between process time and compression performance. (This is the default setting).
[Level 3] - The image file will be generated at a lower compression rate and deduplication requires less backup processing time.
Use the curser to drag the slide switch to the desired level of deduplication compression.
-
Temporary File Folder: Set the location for deduplication to process temporary files.The maximum size of the temporary folder will be 1% of the used space of backup source.
* You are recommended to set it on SSD.
-
Standard Compression: The dropdown menu provides two levels of standard compression.
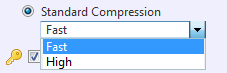
[Fast] - Backup processing time and storage requirements are at an optimum.
[High] - The backup task will place a higher demand on system resource usage and an increase in processing time but the result is a smaller backup image.
-
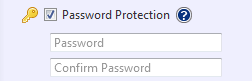
Password Protection: Password protect the backup image file by assigning a unique password. This ensures that password input is required for mounting, exploring, or restoring any of the contents of the image file.
Enable [Password Protection] by first checking the box, then setting the password.
-
Enable Encryption: Enabling the encryption for the backup image file ensures that the backup file cannot be compromised. There are three levels of encryption to choose from. RC5 and AES 128 and AES 256 bit.
Enable Encryption by first checking the box then use the drop down menu to select an encryption method.
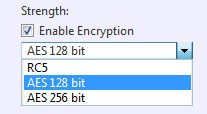
The three levels of encryption to choose from are as follows.
[RC5] - An early encryption standard with a variable block size, key size and number of rounds. Selecting RC5 encryption provides a faster encryption processing speed.
[AES 128 bit] and [AES 256 bit] - A stronger encryption method than RC5 with a fixed block size and a key size of 128 or 256 bits.
You can configure the advanced backup options or refer here to create a backup schedule.
Advanced Backup Options
Click [Advanced Options] to access the advanced backup options settings page.

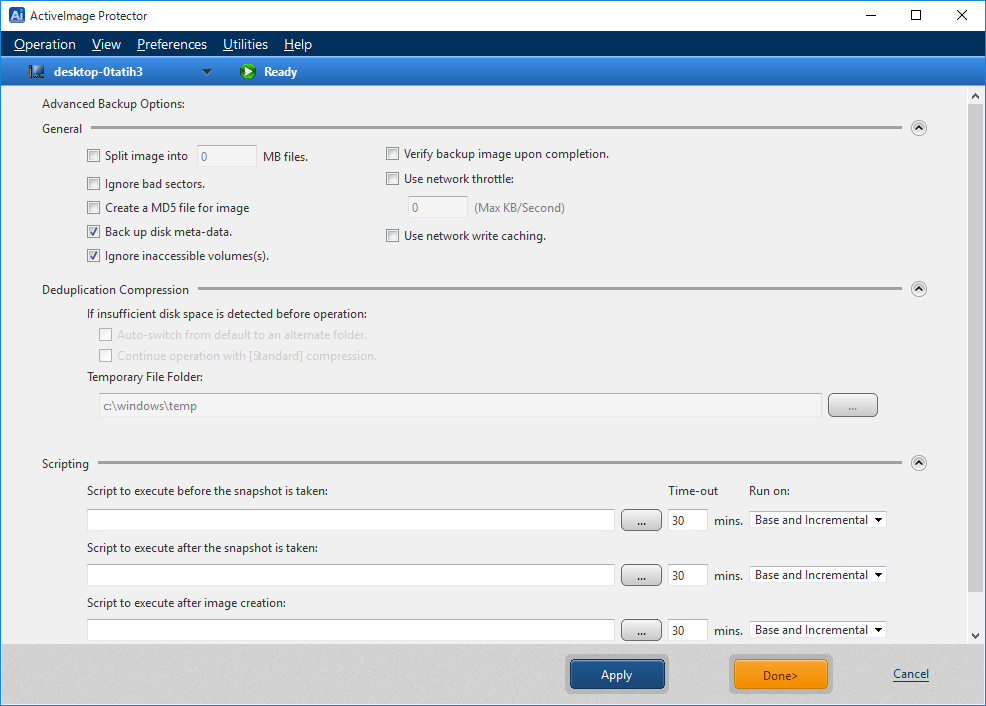
[Advanced Backup Options] offer a number of customized settings that can be configured into the backup task by checking the box at each of the options. Backup file options include streamlining the backup process, verifying the integrity of the backup image, generating an MD5 checksum file, and network throttling for the backup task traffic.
-
Advanced Backup Options: General
Select these options by checking the appropriate box.
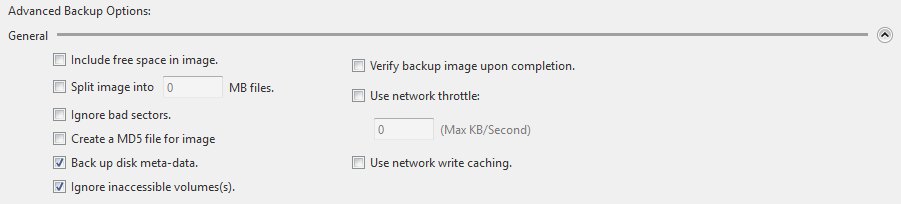
[Split image into xx MB files] - The backup image is split into multiple files of the specified size (MB)
[Ignore bad sectors] - By enabling Ignore Bad Sectors, the backup task will continue uninterrupted if encountering unreadable sectors.
[Create an MD5 file for the image] - Creates an MD5 check-sum for the image file. This can be used as a security measure to check if internal tampering of the image file has occurred.
[Backup disk metadata] - Prevents the copy engine from failing when it cannot access a volume that is specified in the backup. This is useful for cluster servers in some situations.
[Ignore inaccessible volumes] - Enabling the Ignore Inaccessible Volumes function prevents backup task interruptions when an inaccessible volume is encountered.
Ex: In the event that the system volume and cluster shared volume are backed up with this option enabled in Server 2008R2 cluster environment, backup task of cluster shared volume even when moved to other nodes does not fail in error but continues to run.
[Verify backup image upon completion] - Backup image files are created, then verified. Additional processing time is required for Verification.
[Use network throttle] - If the destination drive is on a network share, use network throttle to define the maximum throughput in KB/second to reduce backup traffic over the network.
[Use network write caching] - When storing image files in network shared folder, cached data are used.
-
Advanced Backup Options: Deduplication Compression
Select one of the two options to ensure that the backup task completes without interruption if insufficient disk space is detected in the temporary file folder before operation.

[Auto-switch from default to an alternate folder.] - The temporary folder used by deduplication will automatically switch over if insufficient disk space is detected.
[Continue backup process using Standard Compression] - Will complete the backup task using the default Standard Compression.
[Temporary File Folder] - Specify the location for deduplication to process temporary files. The maximum size of the temporary folder will be 1% of the used space of backup source. The higher the deduplication level, the larger the temporary file size will be.
-
Advanced Backup Options: Scripting
Scripts can be implemeted to run before and or after snapshots are taken or after the backup image has been created. Use the dialog box below to execute scripts.
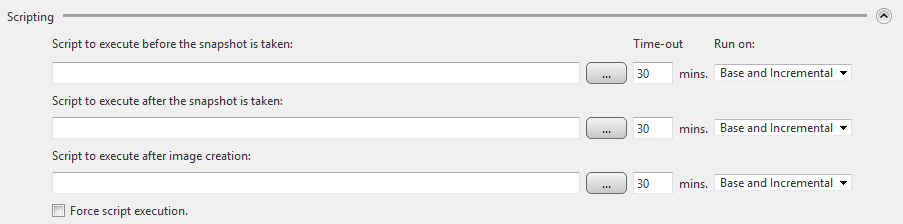
Enter the path and script to run or use the browse button  to select a script to be executed during the backup task.
An example would be to execute a script that places a database into a paused state before a snapshot is taken.
[Script to execute before the snapshot is taken] - Specify a script or batch file to run before the snapshot is taken.
[Script to execute after the snapshot is taken] - Specify a script or batch file to run after the snapshot is taken.
[Script to execute after image creation] - Specify a script or batch file to run after the backup image has been created.
[Force script execution] - Checking this box ensures that all specified script or batch files will be executed even if an error occurs during the backup operation.
[Run on] - You can select the backup type to run the script.
?>
Configure the settings to back up Cluster Shared Volume (CSV) on which a virtual machine is running in Windows Server Failover Clustering (WSFC). Please enter the credentials for the domain administrator in Domain Admins group since you need to obtain the information from the respective virtual machine's owner node.
To confirm the network connection, click [Test Connection].
Click [Dond] to end the configuration window.
Click [Next] to review the configuration summary.
Click here to Continue to Step 3: View Summary