
Schedule and configure ImageCenter's Replication of ActiveImage Protector full backup and incremental backup image files to a local or an offsite storage share.
1. Begin by selecting an image file from the Image View pane of the console.
2. Once the image is selected, from the Task List pane, click [Create Replication Task].
NOTE: Image files can now be selected from the initial screen of the [Create a Replication Profile] wizard.

3. The [Create a Replication Profile] screen is displayed. See below.
Image Info View
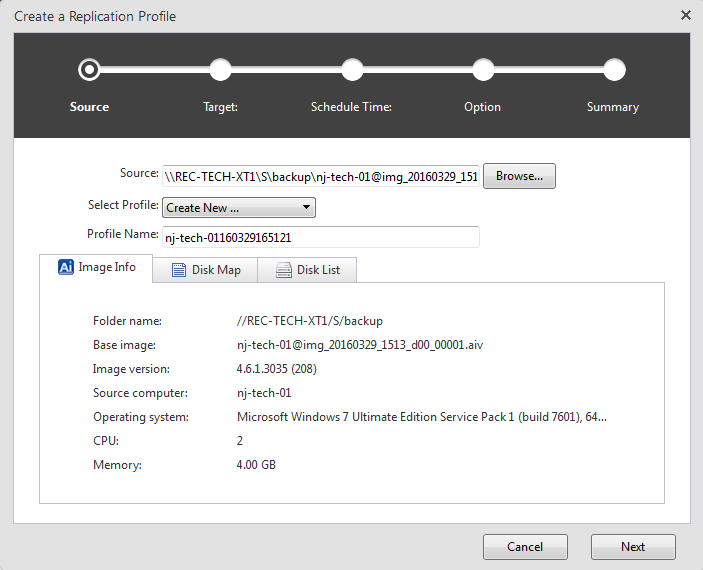
Source
Use the [Browse] button to select an image for creating a profile schedule.
Select Profile
Use the drop down menu to set the profile type.
Create New - Create a new profile and configure the replication settings.
Create from Template - Apply an existing profile template based on a previously configured replication task.
Profile Name - The default profile name includes the current date. The profile name can be edited if local policy requires a specific naming convention.
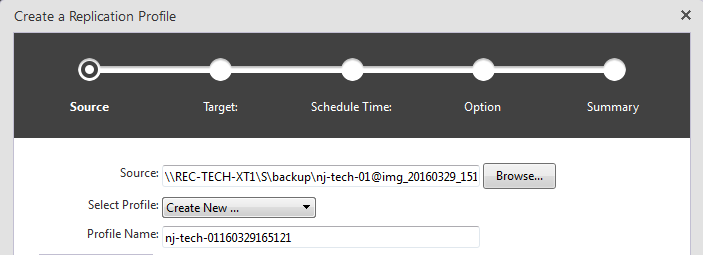
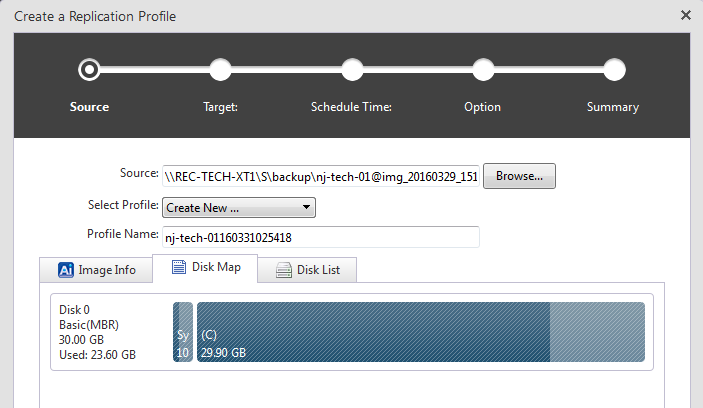
Click on the tabs for additional views of the backup image. View disk partition information.
Disk Map View
Or view disk by overall size, format and used space.
Disk List View
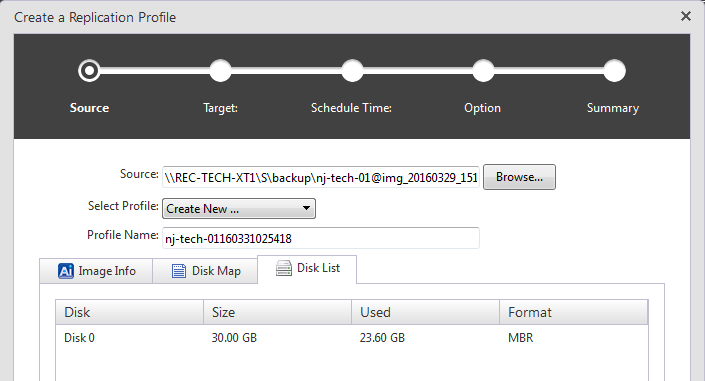
Verify that this is the backup image set that is to be configured for replication and click [Next]
Off Site Replication Target
Select an off site target for replication of the backup image files.
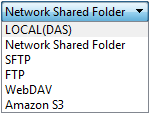
Choose from:
Local (DAS) - A local direct attached storage device that's connected to the source machine.
Network Shared Folder - An accessible network shared storage.
SFTP - Secure File Transfer Protocol. A separate protocol packaged with SSH to ensure security.
FTP - File Transfer Protocol. A standard network protocol used to transfer files between a client and server on a LAN or to a remote server.
WebDAV - Web Distributed Authoring and Versioning.
Amazon S3 - Simple Storage Service. Cloud storage provided by Amazon.
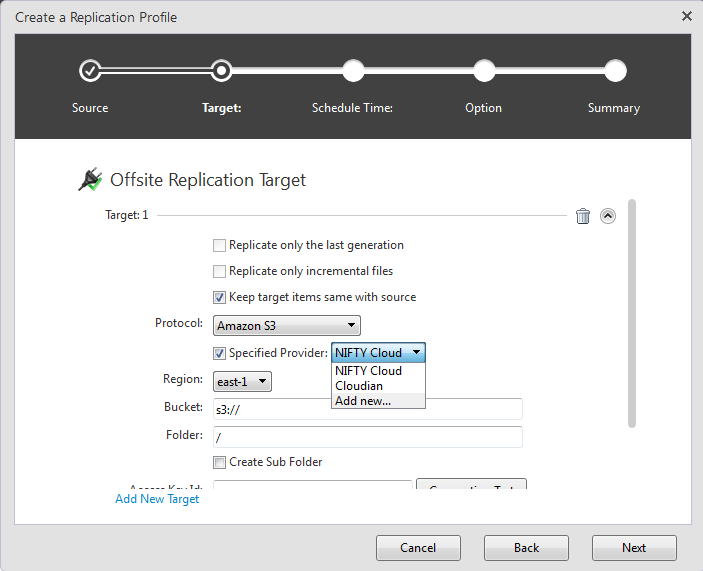
Replication can be configured for up to three target destinations using different protocols. Options include replication of the last generation of backup files or replication of incremental files only.
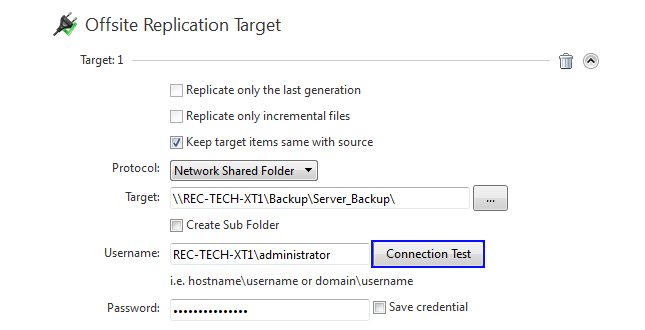
Replicate only the last generation - Check the box to enable replication for only the last generation of backup files.
Replicate only incremental files - Check the box to enable replication of only incremental files.
Keep target items same with source - Check the box so that the target files mirror the files from the source.
Protocol - Select a protocol destination target for the replication image file(s). Use the drop down menu to select from local direct attached storage, a network shared folder, WebDAV, FTP, SFTP or Amazon S3.
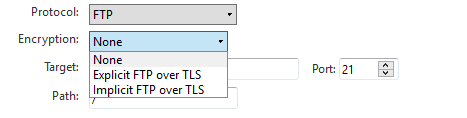
When FTP is selected, [None (no encryption)], [Explicit FTP over TLS] and [Implicit FTP over TLS] are provided for [Encryption] options to select.
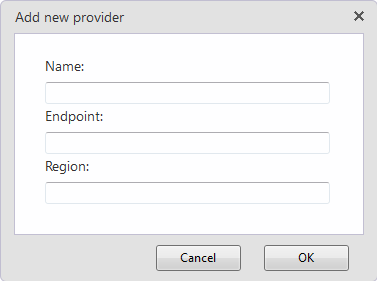
When selecting Amazon S3, a compatible provider can be specified and added for offsite replication. Check with your S3 compatible provider for the proper settings.
Note: The WebDAV protocol, port ID and login credentials are required to authenticate. Other protocols such as secure ftp and Amazon S3 may require additional credentials, passwords or unique keys for replication access.
NOTE: If selecting a [Network Shared Folder] as the off site target, click the [Connection Test] button to confirm connection with the network storage device.
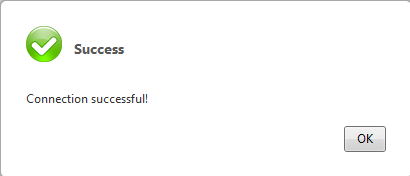
Message confirming a successful connection
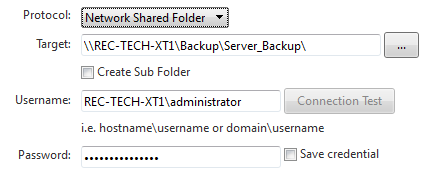
Once the connection is confirmed as successful, the [Connection Test] button is grayed out.
Click [Next]
Configure the Replication schedule.
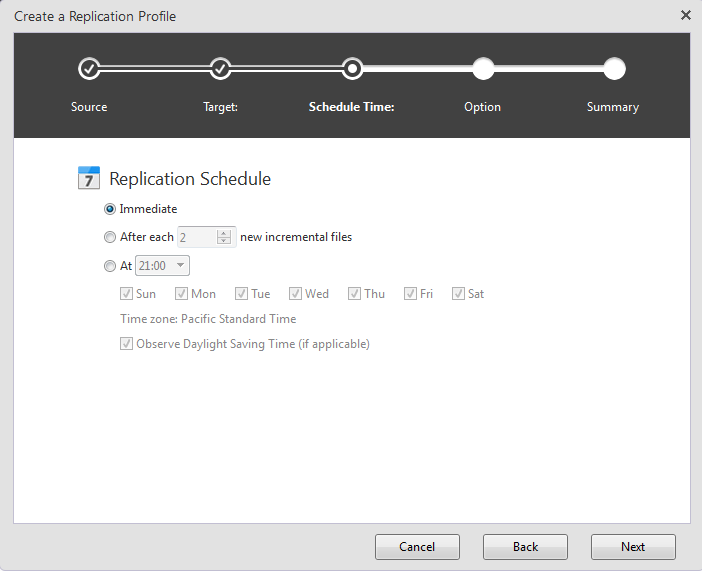
Check the radio button for the desired replication schedule.
Replication of backup image files can performed immediately, set to run after a specified number of incremental files have been created or
scheduled to replicate at a specified time of the day everyday or specific day(s) of the week.
Click [Next]
Enable task notification, adjust execution priority or enable and adjust I/O performance.
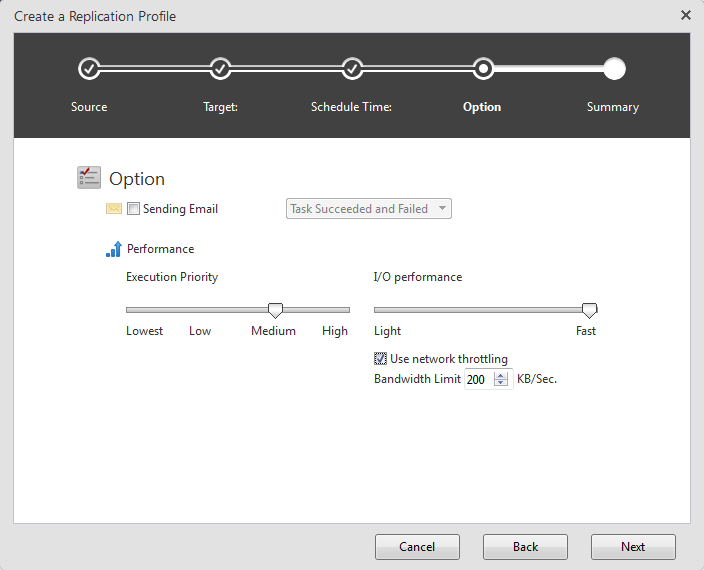
Enable Sending Email - Check box to receive notification of replication task success, failure or both.
Execution Priority - Set ImageCenter's task execution priority. By determining the current workload on CPU, disk and memory resources, ImageCenter's task priority can be adjusted from the lowest setting to high. In a production environment, it is recommended to keep execution priority between Lowest and Medium.
I/O Performance - Set the I/O performance for disk, network storage or media devices. A fast setting increases throughput. Moving the slider to light reduces I/O throughput.
Use network throttling - Set the amount of network bandwidth in KB/sec. to define the maximum throughput in order to reduce the impact of replication traffic over the network.
Click [Next]
Summary
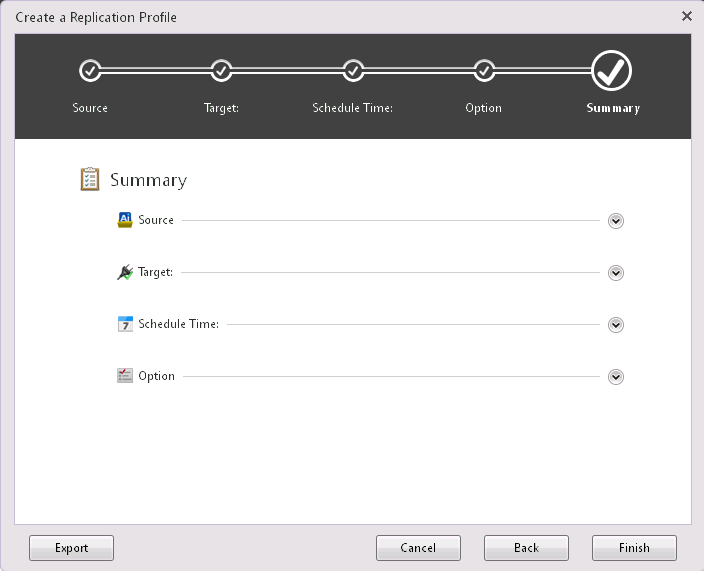
Click the down arrows at the end of each category to expand and view the details for that section.
Export - The configuration settings for the replication task can be exported as a template and can be applied to other replication tasks.
Back - Use the [Back] button to make any changes to the configured settings for the task.
Cancel - Cancel the configuration settings for the replication task.
Finish - Click [Finish] to complete and save the replication task configuration.
Click [Finish]