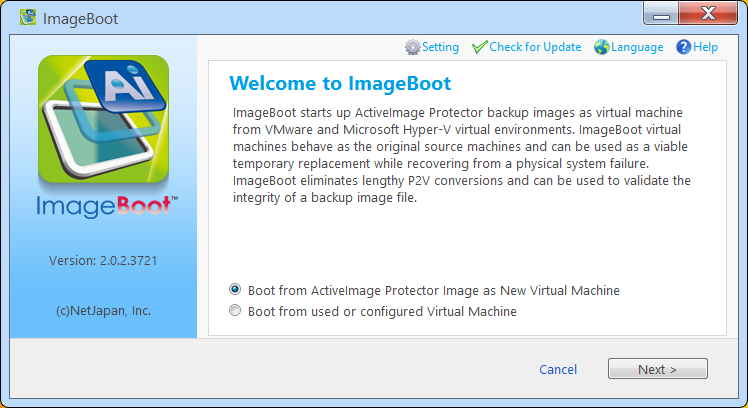
1. Open ImageBoot
from [NetJapan] program group on start menu. Click [Next].
2. Select
backup image file.
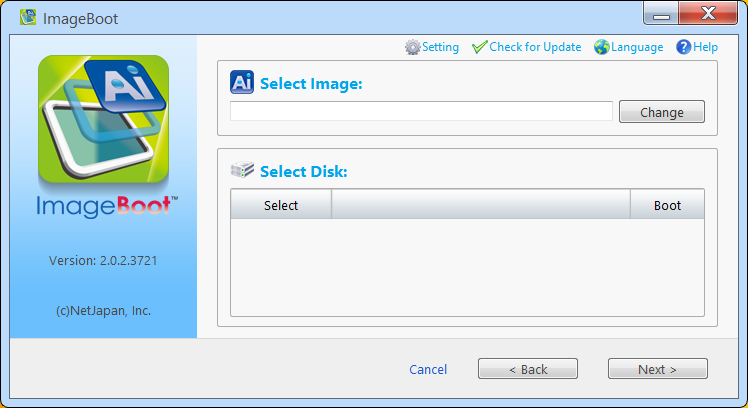
· Click [Browse], image file can be selected by using Explorer.
· An image file can be specified by directly entering file path (include both the filename and extension) and click [Open].
Selected image file's disk map is shown on
[Select Boot Disk]. Check the box for the boot disk and click [Next].
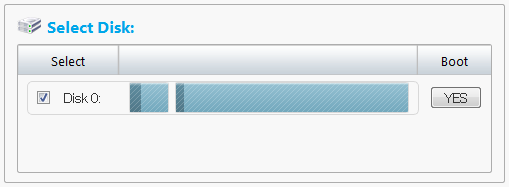
* Cannot use image file that includes the disk which collides to host disk's signature. Also, includes the disk that is already using to the created VM.
* Cannot boot from disk that is "No" of [Boot]. Bootable disk of a created VM is one disk only.
3. Select
the hypervisor and configure the virtual machine.
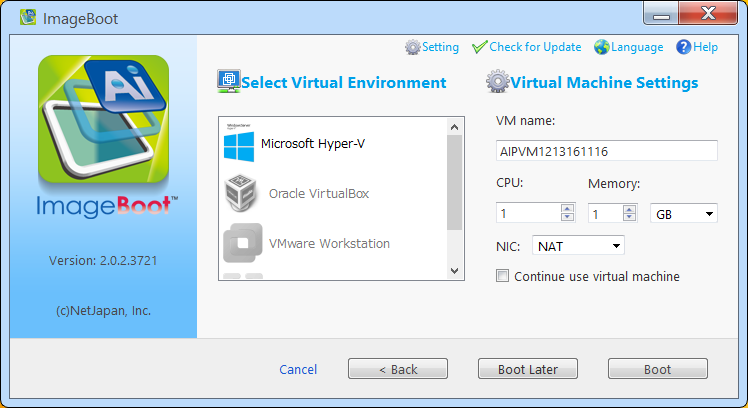
Set the parameters of virtual machine.
· VM Name
· CPU - Number of CPUs to assign.
· Memory - Amount of memory to allocate.
· NIC
o VMware products can select from [NAT], [Bridge] or [None].
o Even if selected [Add] by Hyper-V, virtual switch is not specified automatically. Please specify suitable virtual switch after VM creation.
By clicking [Finish], VM creation starts. The created VM will boot immediately.
The changing data is saved as differential image file (*.aix). A differential image file is created when quitting ImageBoot (unmounting image file).
· When booting VM from incremental image file (*.aii), the sequential image file set (from base to used incremental) is necessary to use created differential image file.
· When booting VM from differential image file, the changing is saved to selected image file (differential image file is overwritten).
· The created VM will be removed by the following timing.
o Quit ImageBoot.
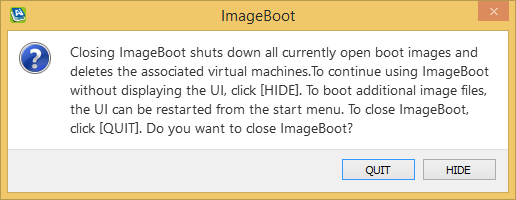
* Before quit ImageBoot, please turn off VM.
o Start ImageBoot (When ImageBoot was "hidden" and rebooting host system.)