
Start by selecting BE Builder (Windows PE) from the Utilities menu bar, Dashboard or the main pane.
Welcome to the Windows PE Boot Environment Builder.
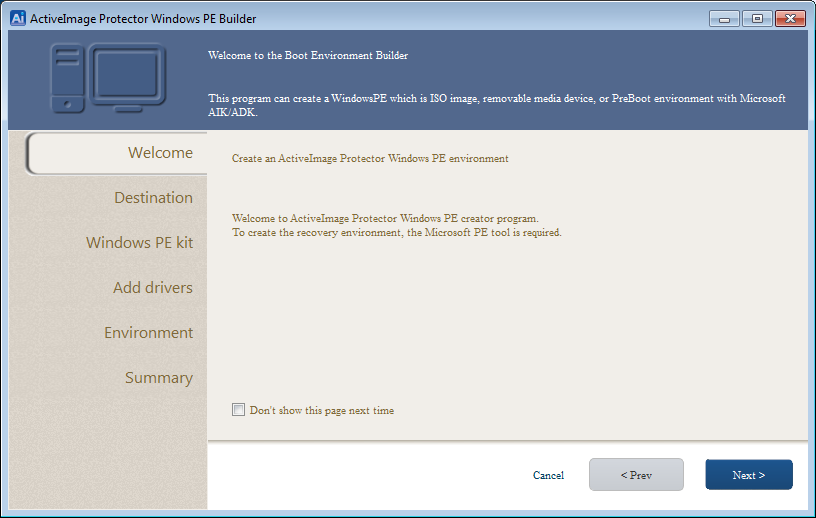
Click [Next]
Specify a Boot Environment.
Click the radio button to select ISO image to be saved to a folder or create a USB boot environment media.
Provide a name for the ISO Image. Click [Browse] to save the ISO file to a specific location. By default, the ISO file is saved to the ActiveImage Protector folder.
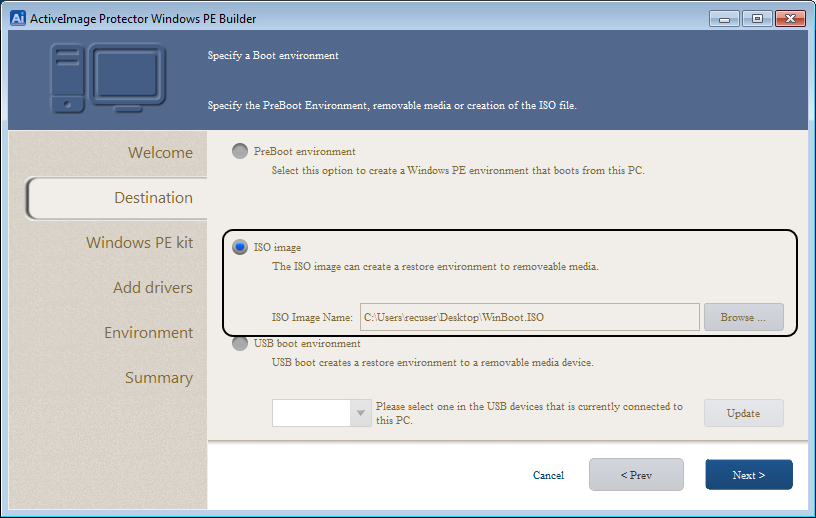
If specifying a USB Boot Environment, have a USB device connected to the system.

Click [Next]
Specify the Windows PE toolkit needed for the installed operating system by clicking the appropriate radio button.
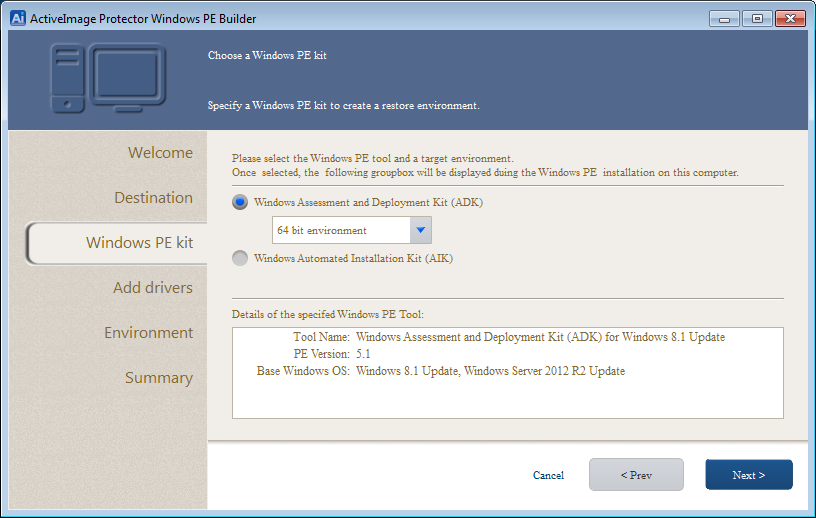
Click [Next]
Specify device driver(s) for this system to include in the ISO image.
Highlight any of the driver(s) listed and click the right arrow to add the device driver to the ISO image.
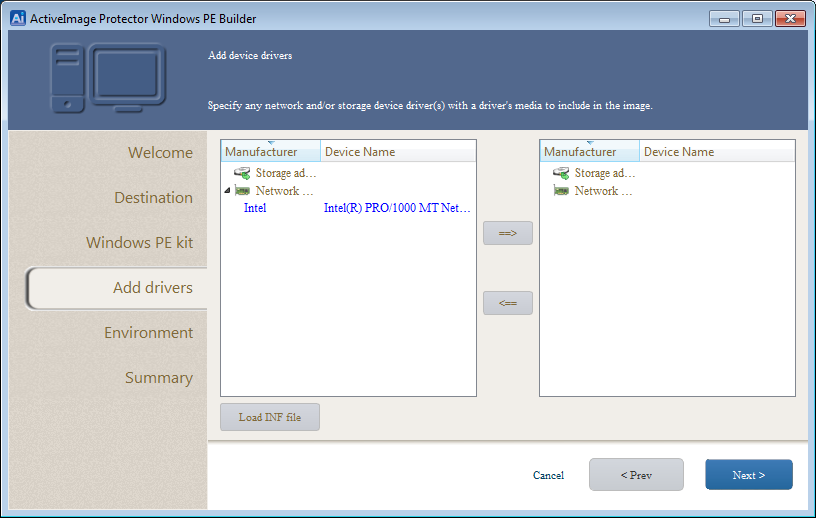
Click [Next]
Specify the language and keyboard type by using the drop-down menu.
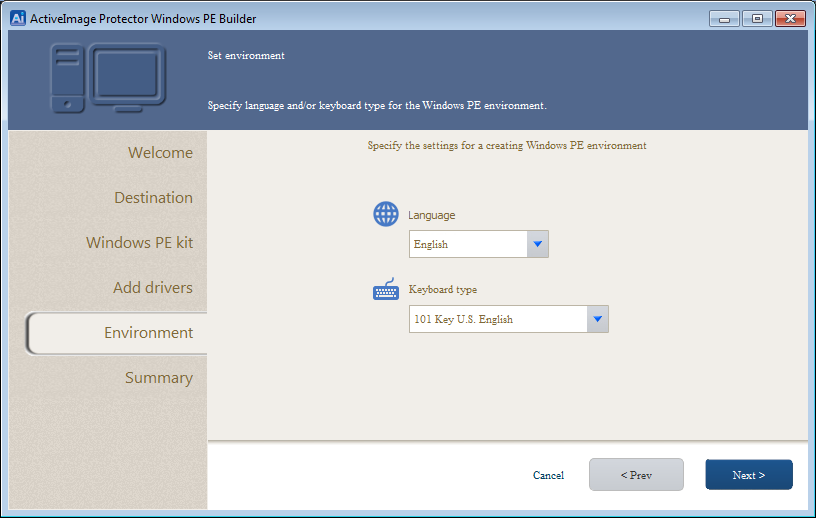
Click [Next]
Review the ISO image configuration Summary.
Click [<Prev] to make changes to previous settings.
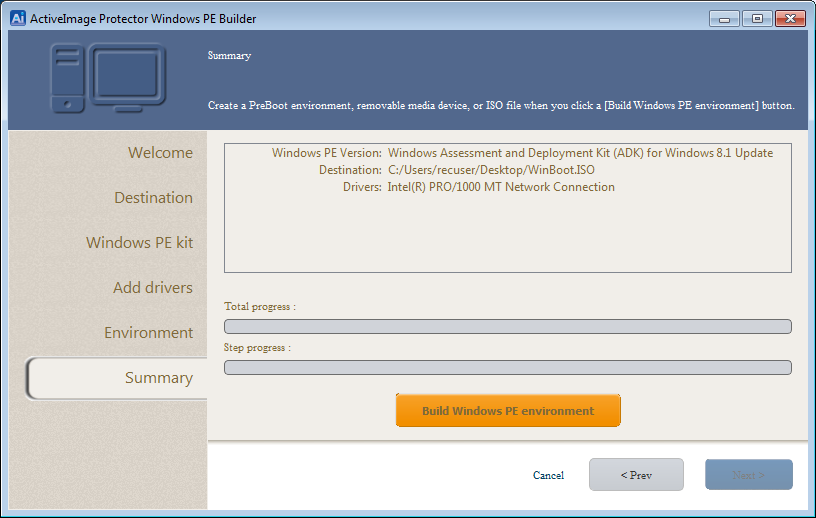
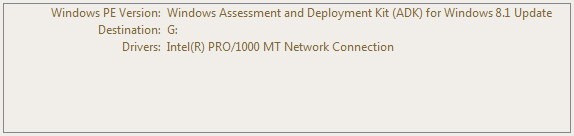
Review the summary for the USB Boot Environment settings. Click [<Prev] to make changes to previous settings.
Click [Build Windows PE Environment]
Confirm and Proceed.
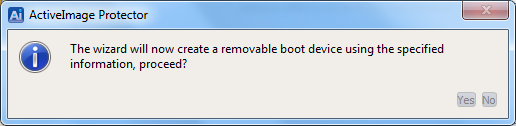
Click [Yes] to continue.
Progress Window
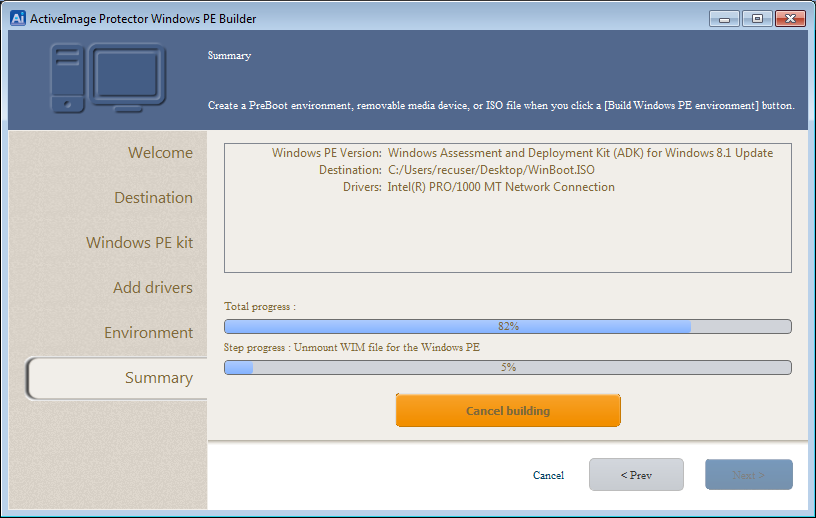
ISO image creation complete.
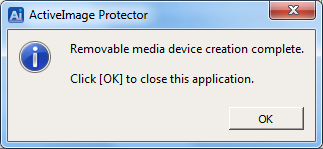
Click [OK] to close.
The ISO image is created and can now be burned to an optical disc.
The USB drive is now an ActiveImage Protector Windows PE based boot device.