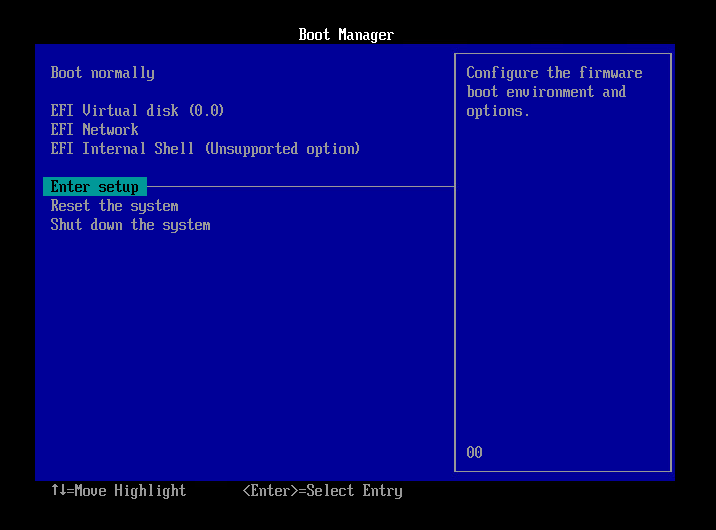
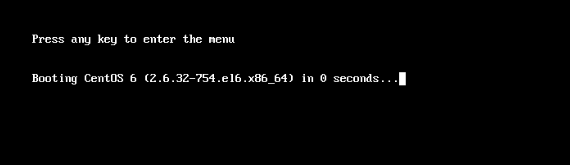
- EFI 環境のスタンバイ VM を起動すると、以下のような画面が表示され起動に失敗します。
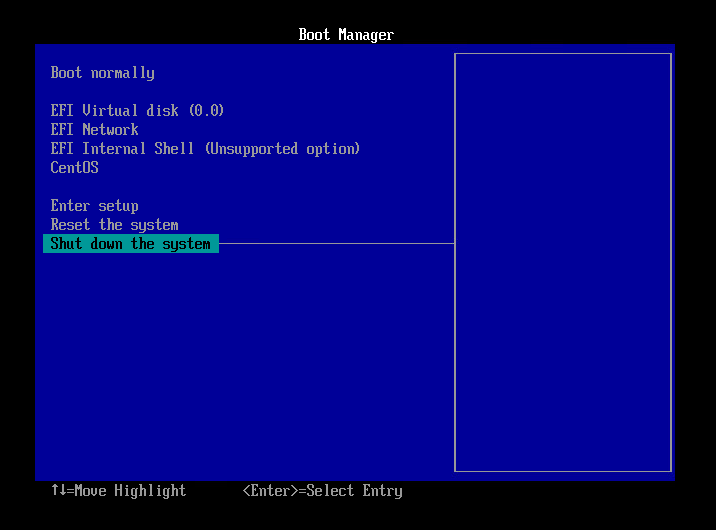
Enter Setup を選択してエンターキーを押下します。
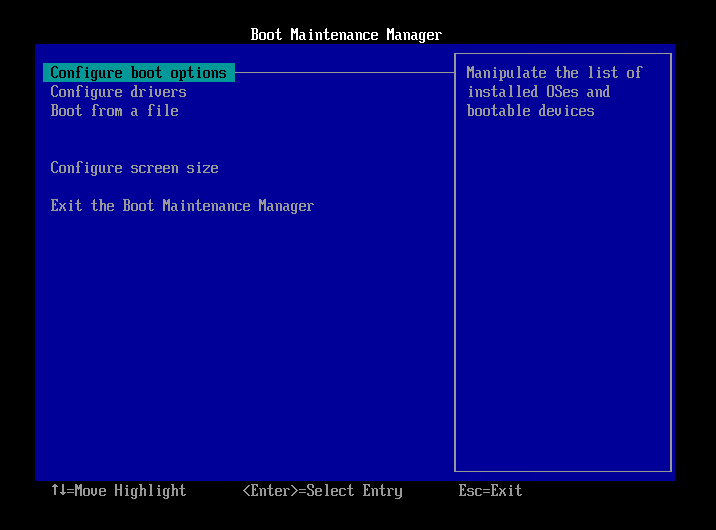
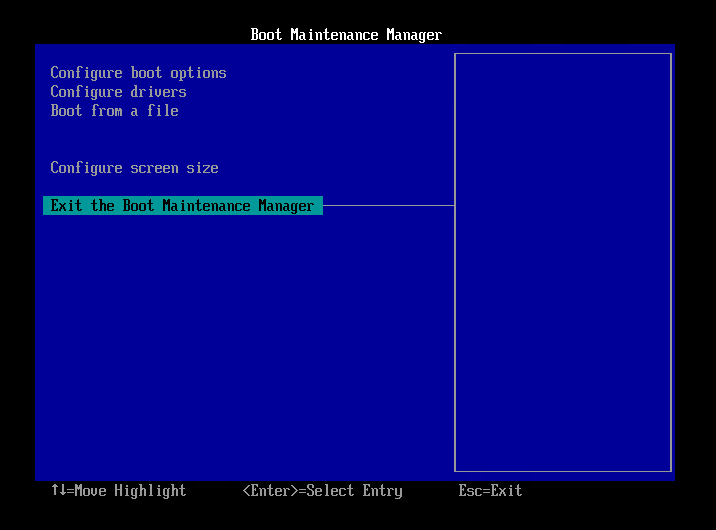
- Configure boot options を選択してエンターキーを押下します。
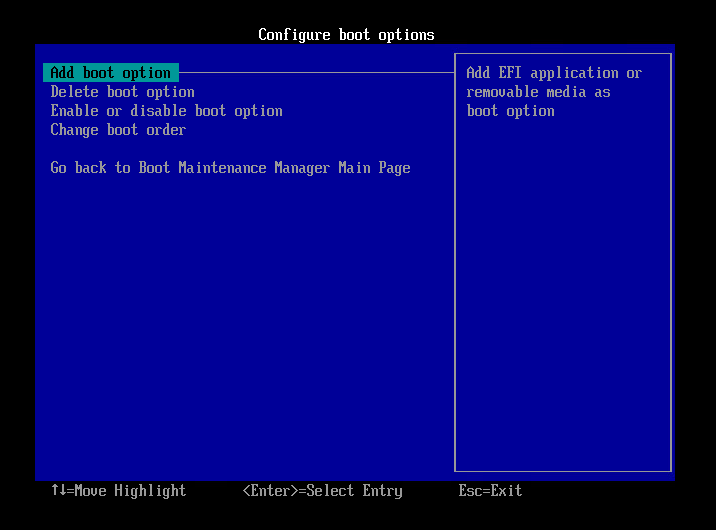
- Add boot option を選択してエンターキーを押下します。
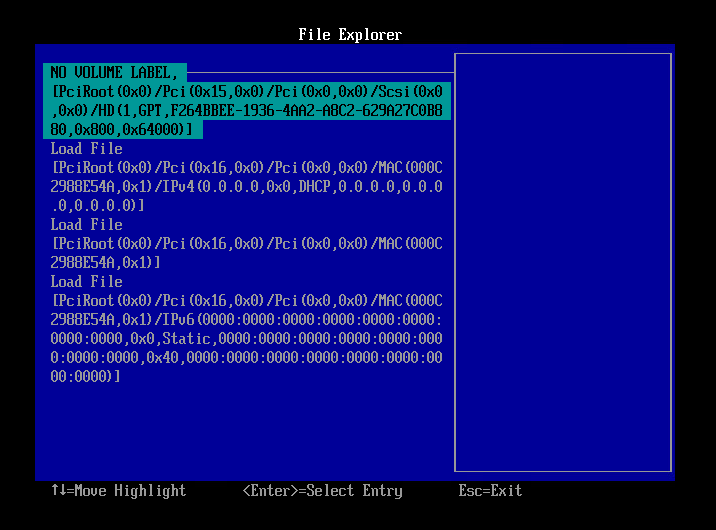
- NO VOLUME LABEL, を選択してエンターキーを押下します。
- <EFI>を選択してエンターキーを押下します。
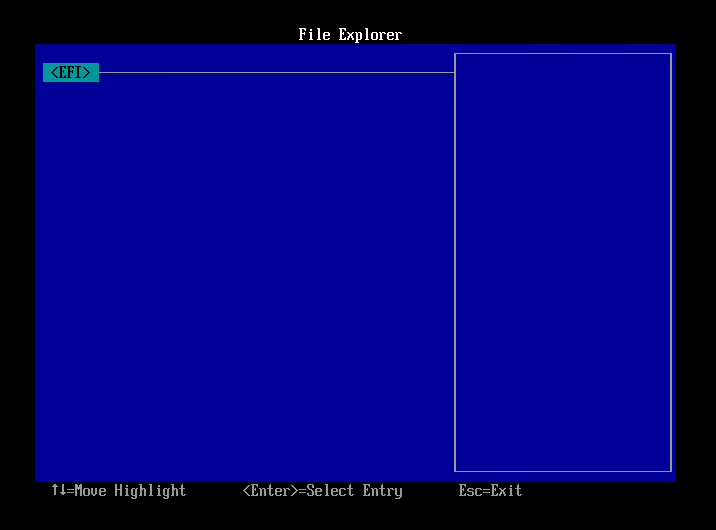
- 以下を選択してエンターキーを押下します。
- Red Hat Enteprise Linux/CentOS 6.x の場合: <redhat>
- CentOS 7.x の場合: <centos>

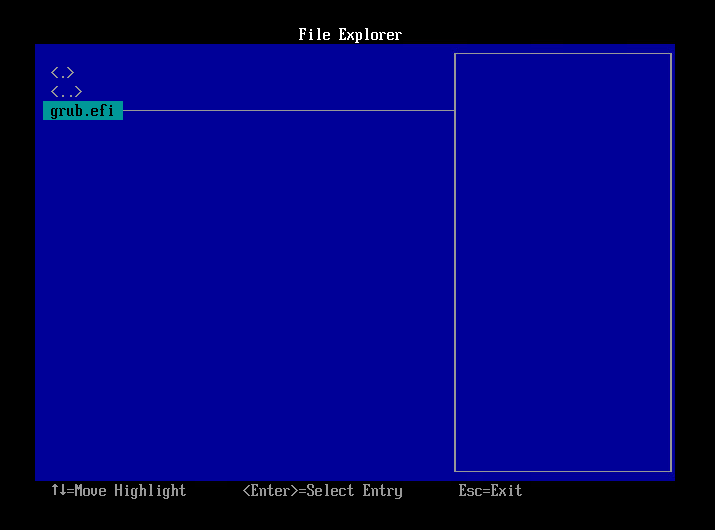
- 以下を選択してエンターキーを押下します。
- Red Hat Enteprise Linux/CentOS 6.x の場合: grub.efi
- CentOS 7.x の場合: shimx64.efi
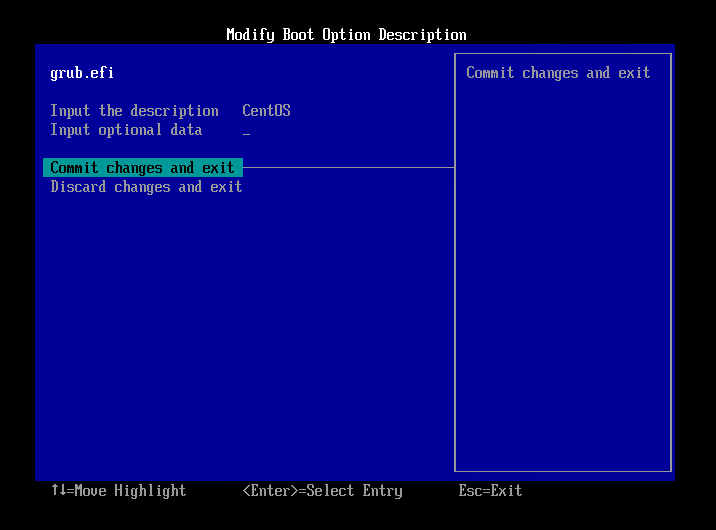
- Input the description を選択してエンターキーを押下します。
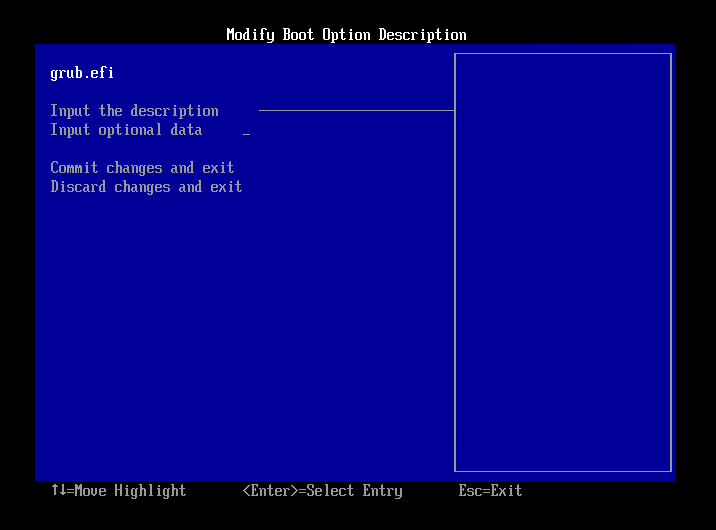
- 表示された画面で任意のラベル名を入力してエンターキーを押下します。
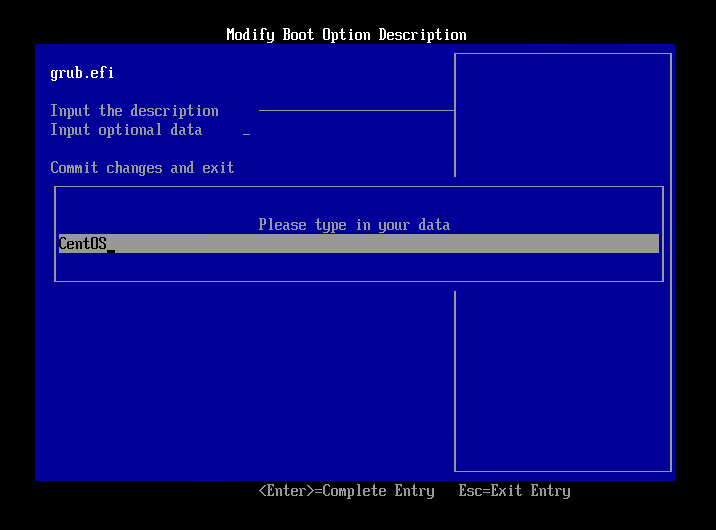
- Commit changes and exit を選択してエンターキーを押下します。
- Exit the Boot Maintenance Manager を選択してエンターキーを押下します。
- Shut down the system を選択してエンターキーを押下します。
- これによりシステムが起動できるようになります。
※スナップショット(ブートポイント)を変更すると、再度この設定が必要になります。
ActiveImage Protector の CentOSBE を使用する場合
- CentOSBEを起動し、エントリが格納されるパーティションを確認します。
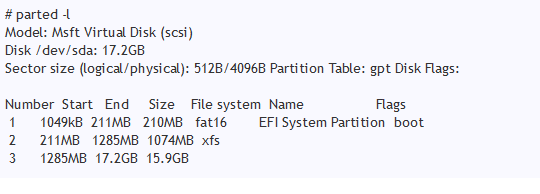 この場合、/dev/sda1にEFIのパーティションがあります。
- 下記コマンドを実行しブートエントリを作成します。
CentOS7.5以前の場合
# efibootmgr --create --label CentOS --disk /dev/sda1 --loader /EFI/centos/shimx64.efi
CentOS6.x / RHEL6.xの場合
# efibootmgr --create --label CentOS --disk /dev/sda1 --loader /EFI/redhat/grub.efi
- CentOSBEを再起動し、OSを起動します。
- Red Hat Enteprise Linux/CentOS 6.x の場合: <redhat>
- CentOS 7.x の場合: <centos>
- Red Hat Enteprise Linux/CentOS 6.x の場合: grub.efi
- CentOS 7.x の場合: shimx64.efi
- CentOSBEを起動し、エントリが格納されるパーティションを確認します。
この場合、/dev/sda1にEFIのパーティションがあります。
- 下記コマンドを実行しブートエントリを作成します。
CentOS7.5以前の場合
# efibootmgr --create --label CentOS --disk /dev/sda1 --loader /EFI/centos/shimx64.efi
CentOS6.x / RHEL6.xの場合
# efibootmgr --create --label CentOS --disk /dev/sda1 --loader /EFI/redhat/grub.efi
- CentOSBEを再起動し、OSを起動します。
この場合、/dev/sda1にEFIのパーティションがあります。