How to boot a Red Hat Enterprise Linux or CentOS
6.x virtual machine in an EFI environment of after P2V in ESXi
Revised on November 14, 2016
Instructions on booting a Red Hat Enterprise Linux or CentOS 6.x
virtual machine in an EFI environment of after P2V in ESXi
Use the following procedures to configure the settings before
booting a Red Hat Enterprise Linux or CentOS 6.x virtual
machine in an EFI environment of after P2V in ESXi.
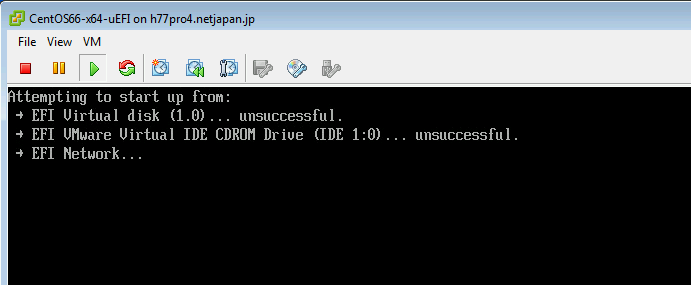
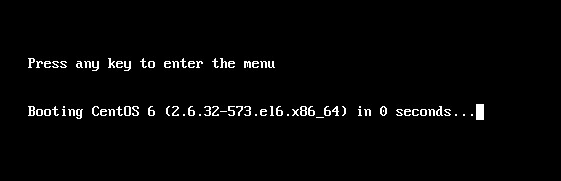
- When booting virtual machine in EFI environment the
following window is displayed and the virtual machine fails to boot.
Shut down the virtual machine and follow the procedures described
below.
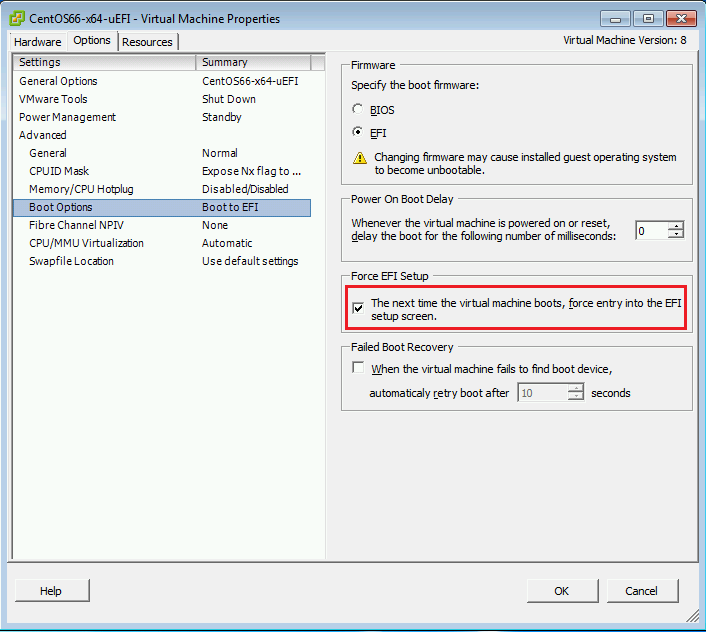
- From the vSphere client, right-click on the
virtual machine and Go to [Edit Settings...]-> [Options]then
select [Boot Options].
- Select [The next time the virtual machine boots,
force entry into the EFI setup screen] and click [OK].
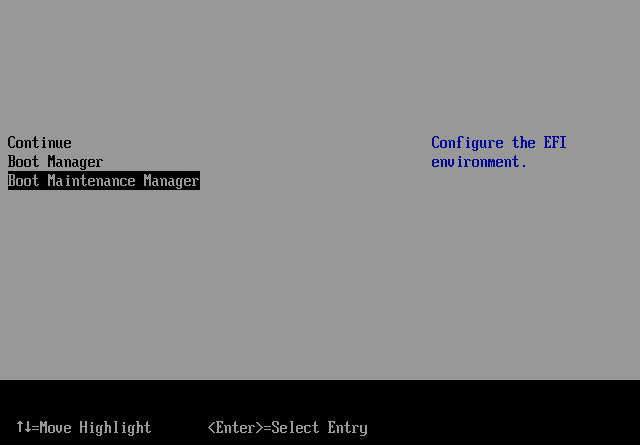
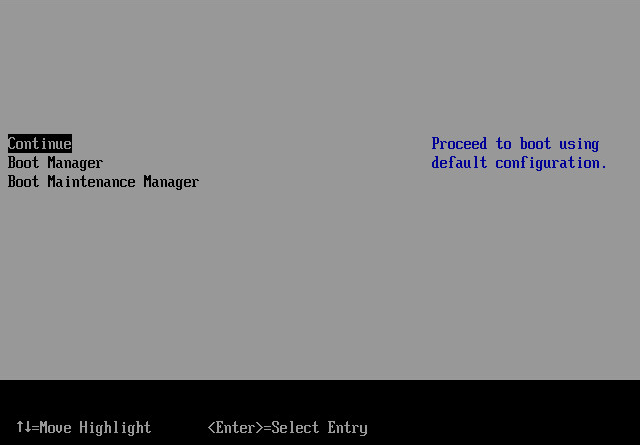
- Power on virtual machine and the following window is
displayed. Select [Boot Maintenance Manager] and press Enter.
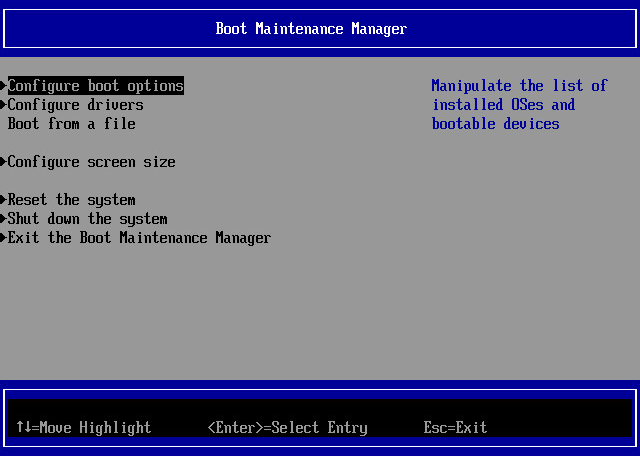
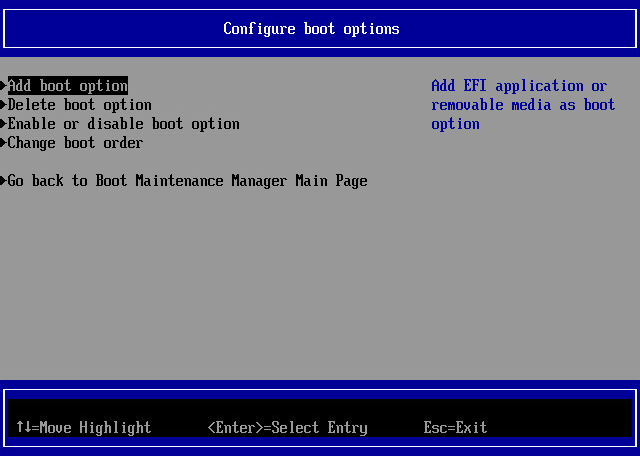
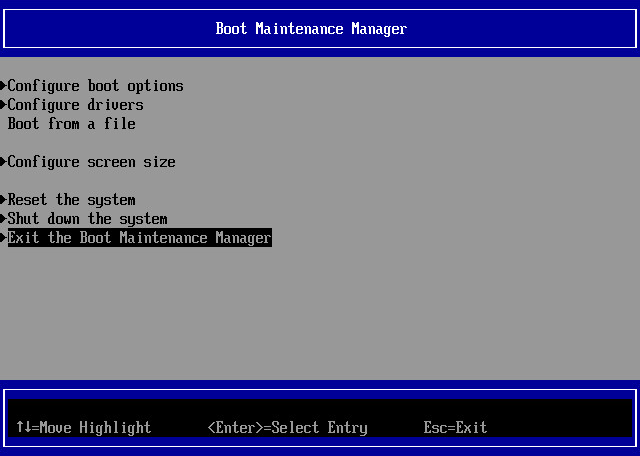
- From the Boot Maintenance Manager, select
[Configure boot options] and press <Enter>.
- Select [Add boot option] and press
<Enter>.
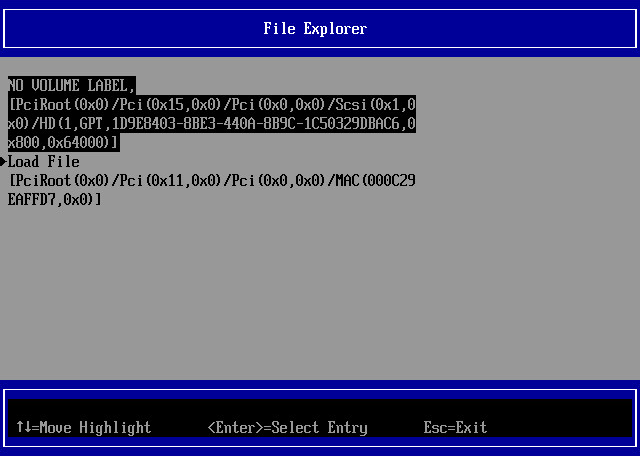
- Select [NO VOLUME LABEL] and press
<Enter>.
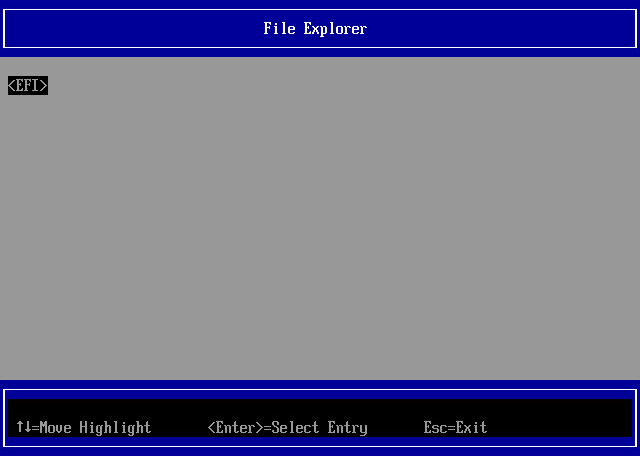
- Select <EFI> and press <Enter>.
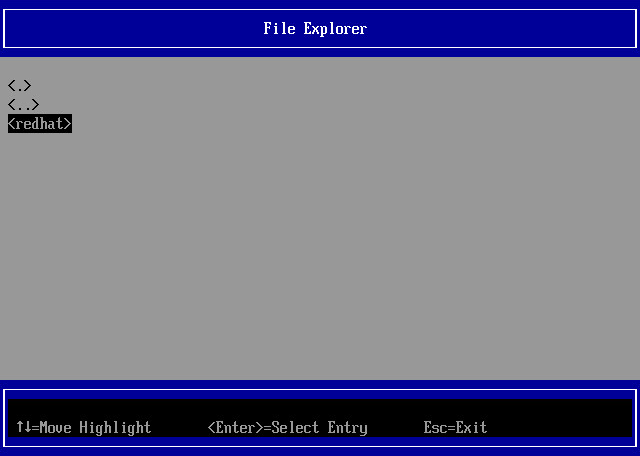
- Select <redhat> and press <Enter>.
- Select [grub.efi] and press <Enter>.

- Select [Input the description] and press
<Enter>.
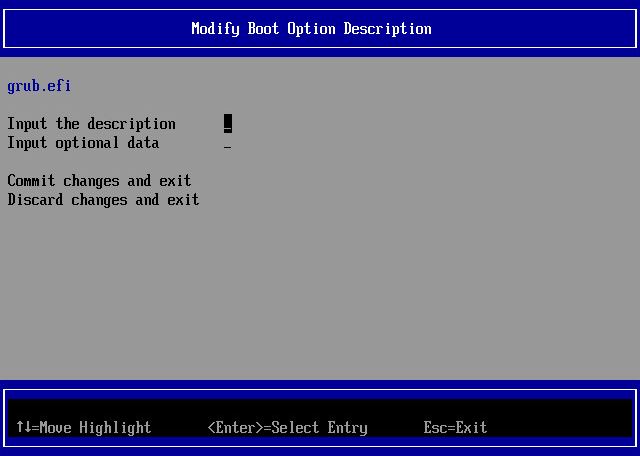
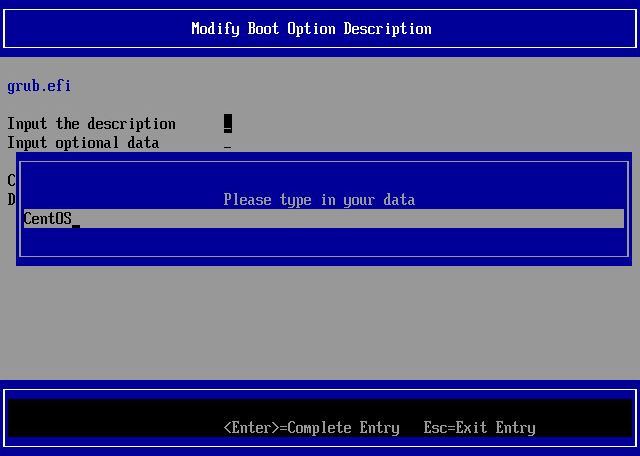
- Enter a label name and press <Enter>.
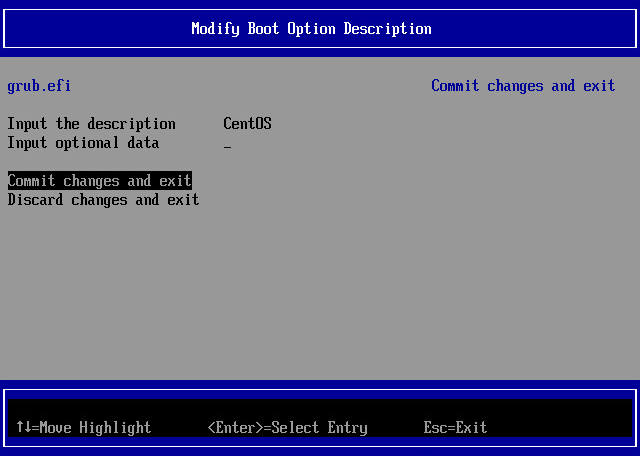
- Select [Commit changes and exit] and press
<Enter>.
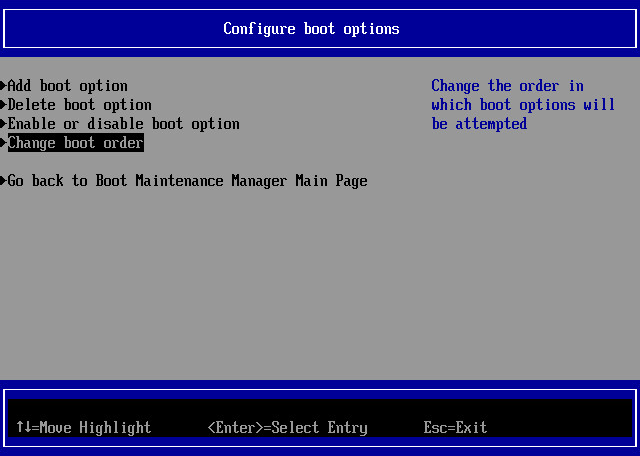
- Select [Configure boot options] and press
<Enter>.

- Select [Change boot order] and press
<Enter>.
- In the [Change boot order] window, press
<Enter>.
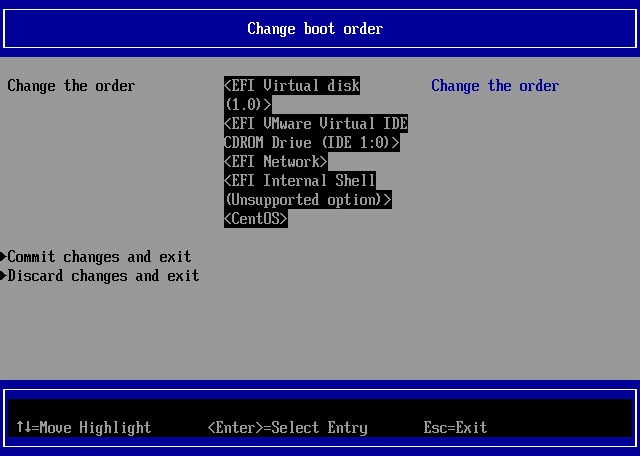
- The boot-up sequence is displayed in the
following window. Select the label name specified from step 12.
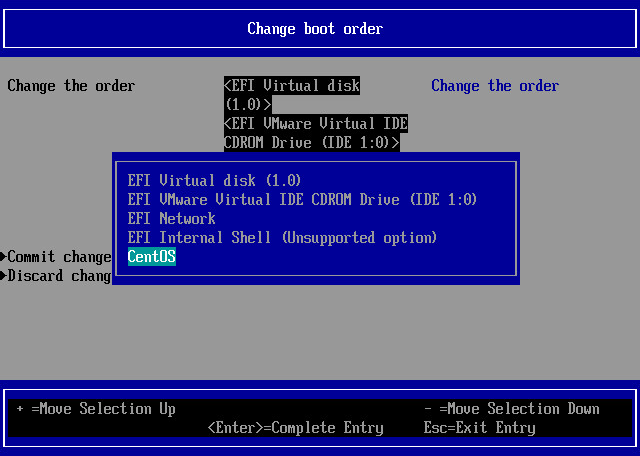
- Press [+] button to move the selection to the
top.
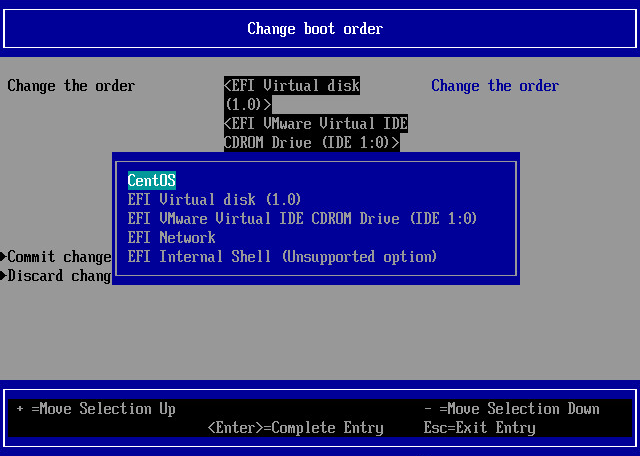
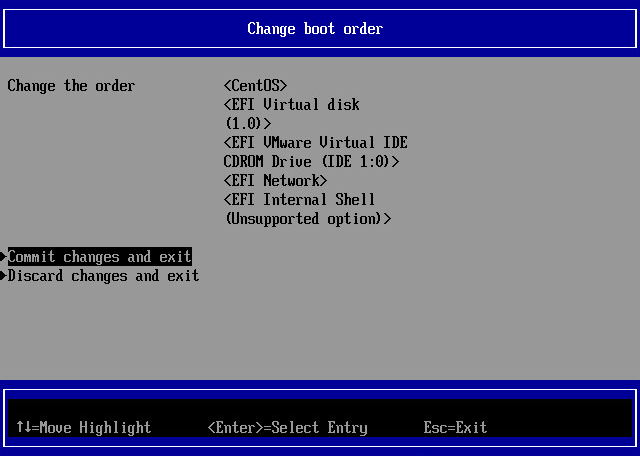
- Press <Enter> and select [Commit changes
and exit] then press <Enter> to commit the entry.
- Select [Exit the Boot Maintenance Manager] and
press <Enter>.
- Select [Continue] and press <Ente>.
- Now the system is ready to be restarted.
* When a snapshot (boot point) is changed, the above configured
settings are reset. Please follow the above procedures when a
snapshot is changed.
Back to Index